Title
How to Prepare Your Phone for a Medical Trip to Korea: A Packing ListDate
November 5, 2026Views
31
K-medi
How to Prepare Your Phone for a Medical Trip to Korea: A Packing List
Your phone may be the first thing you reach for after landing in Korea: to open a clinic message, show a taxi driver an address, or check your appointment time. Preparing it before departure means those details are ready when you need them.
To prepare your phone for a medical trip to Korea, arrange a suitable connection, test essential apps, save clinic contacts, download important files, and pack charging equipment. This checklist helps international patients traveling for plastic surgery complete those steps without turning their phone into a crowded collection of unfamiliar apps.
Table of Contents
1. Your Korea Medical Travel Phone Checklist at a Glance
2. Set Up Mobile Data, Calls, and Account Verification Before You Fly
3. Install and Test the Apps You Will Actually Use
4. Save Clinic Contacts, Appointment Details, and Offline Documents
5. Frequently Asked Questions About Preparing Your Phone for Korea
6. Pack Charging Essentials and Make Your Phone Easier to Use
7. Run a Final Phone Check and Confirm Your Clinic Communication Plan
Your Korea Medical Travel Phone Checklist at a Glance
A prepared phone should help you get connected, reach your clinic, find your destination, and open essential information even when internet access fails. Use these six checks before departure.
|
Preparation Area |
What to Prepare |
How to Check |
|---|---|---|
|
Connectivity |
A compatible phone and connection option |
Review device and provider requirements |
|
Apps |
Maps, translation, transport, and clinic messaging |
Open each app and complete required sign-in |
|
Clinic contact |
Confirmed contact details and communication instructions |
Test the agreed contact channel |
|
Documents |
Appointment details and essential files |
Open downloaded copies without internet |
|
Account access |
Passcode and recovery options |
Check how you will receive verification codes abroad |
|
Power |
Charger, cable, adapter, and portable battery |
Check compatibility and airline requirements |
For clothing, personal care, and other recovery items, see our guide to packing for plastic surgery in Korea.
Set Up Mobile Data, Calls, and Account Verification Before You Fly
Choose your connection around the functions you need. Mobile internet, ordinary phone calls, and SMS are separate capabilities; do not assume that a travel connection includes all three.
Check Phone Compatibility and Carrier-Lock Status
Check your exact phone model, regional version, and provider compatibility. If considering an eSIM, confirm that your device supports it. When using a different carrier, check whether your phone is unlocked; do this early enough to contact your home carrier if necessary.
Choose a Connection That Matches Your Communication Needs
Options include roaming with your home carrier, a physical SIM, or an eSIM. Ask the provider what the chosen service supports and when it becomes active. Installation and activation are not always the same step.
-
Confirm coverage in Korea and service validity for your stay.
-
Check whether voice calls and SMS are included or require additional activation.
-
Read any passport or entry-verification requirements.
-
Follow the provider’s instructions for the data line, roaming settings, and activation timing.
Keep Access to Your Home Number and Important Accounts
Before changing SIM settings, check how your email and messaging accounts verify sign-ins. Ask your home carrier whether you can receive needed texts abroad. Where supported, prepare an authenticator or recovery codes and keep a secure backup separate from your phone. A Korean number should not be treated as a guarantee that every local app’s identity checks will work.
Install and Test the Apps You Will Actually Use
A small set of tested apps is easier to manage than a long download list. Finish setup while you still have your usual connection and access to verification messages.
Maps and Transport for Getting to Your Clinic
NAVER Map is an option for finding places and planning routes; k.ride is a transport app designed for international visitors. Check their current features and setup requirements on your device. Select your language, save the clinic and accommodation, and confirm the Korean address and building entrance with each location.
Save an address screenshot and a simple arrival-route reference. A bookmarked place is not necessarily available offline, and a screenshot does not provide live navigation.
Translation for Everyday Tasks
Papago can help with everyday text and signs. Test the functions you expect to use, and check any offline features rather than assuming they work without data. For consent, medication instructions, or symptoms, ask the clinic to clarify the meaning. Our guide to using a medical interpreter in Korea explains what to discuss before treatment.
The Messaging Channel Your Clinic Confirms
Use the app, email address, or other channel confirmed by your clinic. Verify the recipient through its official website or an established contact, then test message delivery and notifications. Do not assume that a social media account is the right place to send medical information.
Save Clinic Contacts, Appointment Details, and Offline Documents
Keep essential details together and accessible without searching through a long chat history. Cloud storage is useful, but files must be downloaded if you want to open them without internet access.
Create a Clinic Contact Card
Save the clinic’s confirmed name, Korean address, telephone number, messaging channel, and contact hours. Ask what to do outside those hours. Include your accommodation and a trusted personal contact, and carry a printed copy of these basic details in case the phone is unavailable.
Save the Files You May Need Without Internet Access
-
Appointment confirmations and clinic-issued preparation instructions.
-
Medication and allergy information requested by your clinic.
-
Relevant travel and accommodation confirmations.
-
Any records the clinic has asked you to bring.
Turn off Wi-Fi and mobile data briefly and open the saved files. Keep the latest clinic instructions clearly labeled. Digital copies are a backup and do not replace original documents where originals are required.
Protect Medical Files and Consultation Photos
Use a device passcode, review lock-screen previews, and avoid public sharing links for sensitive files. Confirm the recipient before sending photos or records. For image preparation, see our guide to preparing consultation photos. Enter appointments with the Korea time zone selected so calendar changes do not create confusion.
Frequently Asked Questions About Preparing Your Phone for Korea
Do I need a Korean phone number for a medical trip to Korea?
Not necessarily. It depends on how your clinic communicates and which local services you plan to use. Confirm whether internet messaging is sufficient or whether ordinary calls or SMS are needed. Check individual app requirements rather than assuming every service requires a Korean number.
Is a data-only eSIM enough to stay in touch with my clinic?
It may be enough for an agreed internet-based messaging channel, but it does not itself provide ordinary voice calls or SMS. Confirm the clinic’s contact requirements and arrange a backup. Also check that you can still receive any verification messages needed to access your accounts.
When should I install and activate my Korea eSIM?
Follow the instructions for your specific service. Some eSIMs can be installed before travel, while service activation or the validity period may depend on installation, first connection, or another provider-defined step. Read those conditions before proceeding, and keep the setup instructions available for arrival.
Which apps should I install before traveling to Korea for treatment?
Start with a map app, a translation app, any transport app you expect to use, and your clinic’s confirmed communication channel. Complete sign-in, check notifications, and save destinations before departure. The goal is a few working tools that match your itinerary, not every available travel app.
Can I use a translation app during a medical consultation?
You can use it as a supporting tool, but important medical decisions should not depend on unverified machine translation. Ask the clinic or interpreter to explain anything unclear about consent, medication, preparation, or aftercare. Request written instructions in a language you understand and confirm their meaning before leaving.
What should I do if my phone loses service or stops working?
Use downloaded information or your printed contact card, and ask your accommodation or a trusted companion to help you contact the clinic. If the device works, a trusted Wi-Fi connection may restore messaging. For a medical emergency, seek immediate local help rather than waiting for an online reply.
Pack Charging Essentials and Make Your Phone Easier to Use
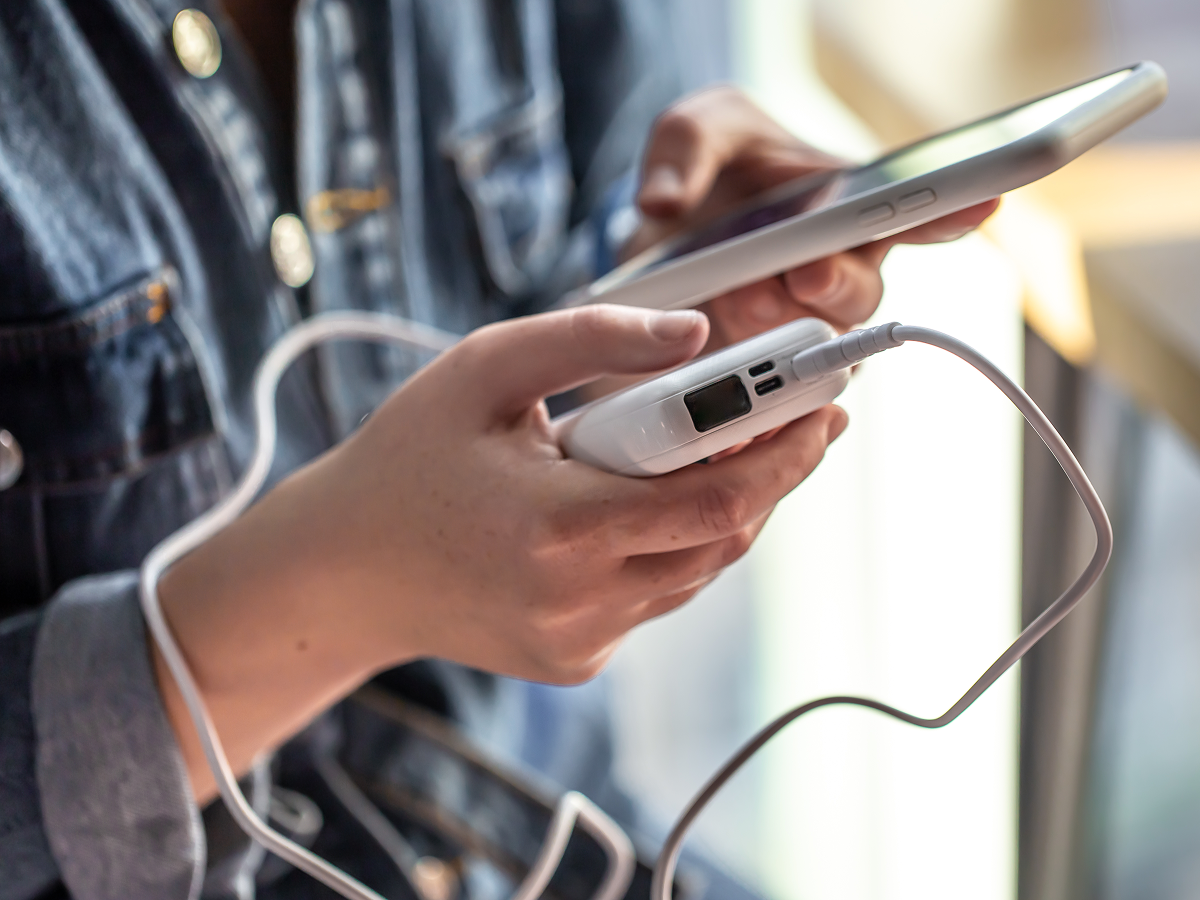
Keep your phone kit small and easy to reach. Reliable charging and familiar settings matter more than extra accessories.
Pack a Small Phone Essentials Kit
-
Your compatible charger and a charging cable long enough for comfortable use.
-
A plug adapter suitable for your charger and Korean outlets.
-
A portable battery that meets your airline’s current requirements.
-
Optional earphones and a simple phone stand.
-
A secure holder and eject tool if you will change a physical SIM.
Check the airline’s current rules for carrying, storing, and using portable batteries before packing.
Check Charging Compatibility
Read the charger’s input label and confirm suitability for the electrical supply at your accommodation. A plug adapter changes the plug shape; it does not convert voltage. If you are unsure about compatibility, check with the manufacturer before using the charger abroad.
Adjust Access and Notifications Before Treatment
Know your device passcode instead of relying only on face or fingerprint unlocking. Increase text size if helpful, place important apps within easy reach, and review Do Not Disturb settings so expected clinic messages are not missed. Keep the screen lock enabled and do not share account passwords to make access easier.
Run a Final Phone Check and Confirm Your Clinic Communication Plan
Finish with a short rehearsal: find your clinic, open your instructions, and check how you will reach someone if a connection fails.
Before Departure: Complete a Short Phone Readiness Test
-
Open essential apps and confirm that you remain signed in.
-
Find the saved clinic address and appointment details.
-
Open downloaded files with internet access turned off.
-
Confirm the clinic contact and your account recovery options.
-
Charge your devices and pack the phone kit and printed contact card.
After Arrival: Confirm That Your Setup Works
Follow your provider’s activation instructions, then test mobile data and any required calling functions. Recheck appointment times against the clinic’s confirmation after the time-zone change. Make sure clinic messages arrive, and keep access to the agreed channel after returning home if follow-up communication is planned.
Confirm How to Contact AB Plastic Surgery
Before you travel, contact AB Plastic Surgery to confirm your appointment details, the communication channel to use, and how to send any requested documents or photos. Ask about contact hours and backup arrangements so your phone setup supports the plan agreed with your clinic.

Written by
AB Plastic Surgery
Updated on
November 5, 2026
This article is for informational purposes only and does not replace a personal medical consultation.